
# Managing Records
# Searching & Filtering Records
Once you are viewing a project in Gridfox, you can search and filter any records for a table.
Clicking the table names in the left navigation bar will take you to the search page for the table.
# Table & Card View
You can click the card icon to toggle the result format between a table view and card view.

# Filtering Records
You can filter the records displayed by clicking the filter icon.

Enter search parameters and click Apply.

For number and date fields there are additional filter options.
| Option | Behaviour |
|---|---|
| Equals | Returns records where the field value equals the search value |
| Less than | Returns records where the field value is less than the search value |
| Greater than | Returns records where the field value is greater than the search value |
| Between | Returns records where the field value is between the search values, with an inclusive search applied |
Clicking the close icon hides the filter fields, whilst the filter is still applied.

You can remove the filter at any time by clicking Clear.

# Saving Filters
After a filter has been applied, you can save your filter by clicking Save As and giving your filter a name.

Once saved, your saved filters will appear under the appropriate table in the left hand navigation bar.

# Adding a Record
By clicking the New icon from a table search screen, you can create a new record for the table.

This will bring up the new record form for the table. Enter the appropriate details in the fields and click Save or Save & Close.
TIP
If you don’t have permission to create records for a table then the New button will be greyed out and unavailable.
To open a record, click on the record in the table search screen. From here you can edit record information and access linked records.
# Editing a Record
To edit a record, select the record from the appropriate table. Make any changes that are needed and click Save or Save & Close.
TIP
If you don’t have permission to edit records for a table then the save buttons and delete button will be greyed out and unavailable.
# Deleting Records
You can delete a record by clicking the Delete icon after opening a record.

Alternatively, you can delete multiple records by clicking the checkbox against table rows on the search screens, and then clicking on Delete Selected.
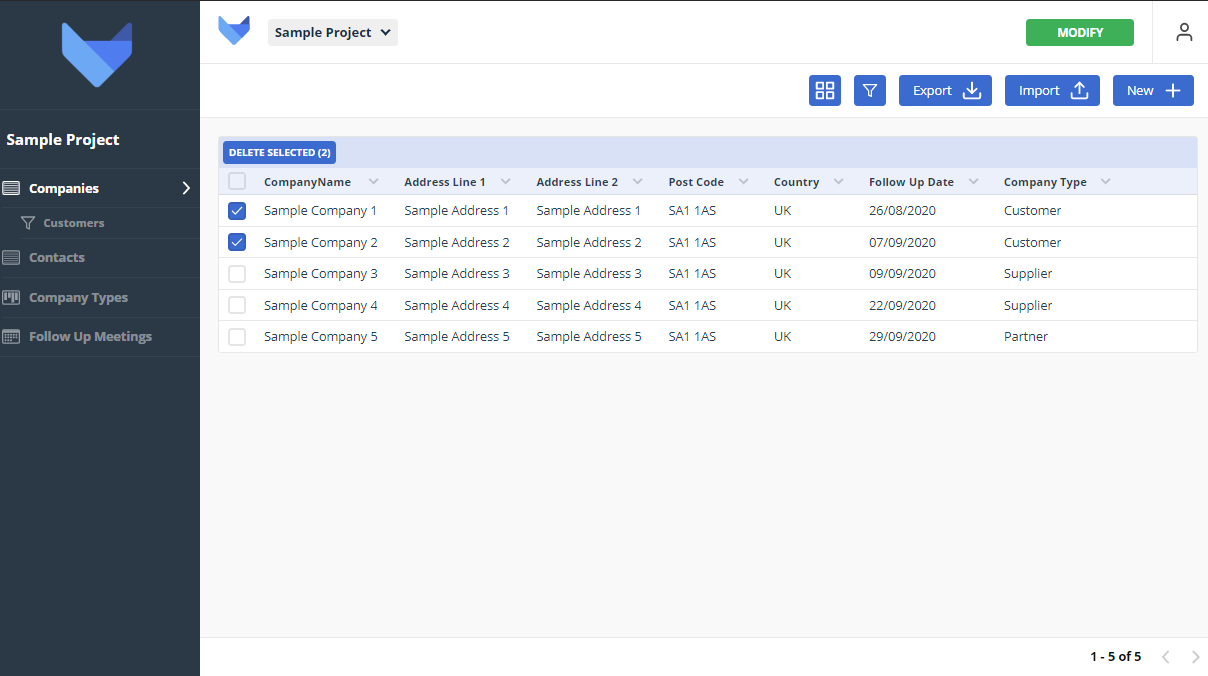
Delete actions must be confirmed but they cannot be undone.
TIP
If you don’t have permission to delete records for a table then the delete button and delete button will be greyed out and unavailable.
# Parent & Child Records
In Gridfox, tables can be linked to one another. For example, your project admins may have created a Contacts table and linked it from your Companies table to allow you to record multiple contact records against each company record.
When viewing a record, if there is a parent link then it will be displayed as a field on the record.
If there are related child tables then these will be displayed under the record information. You can add new child records from these grids.
# Viewing Record History
An audit of all changes that are made to a record is stored. You can view this at any time by clicking the History button when you are viewing a record.

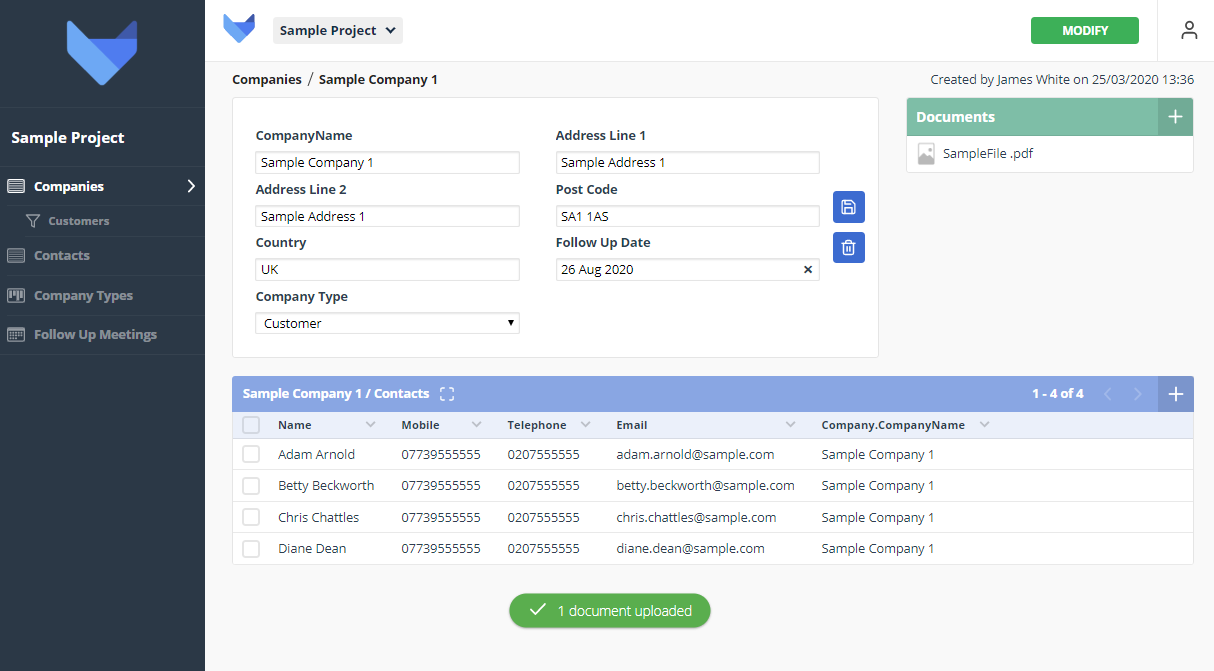
# Uploading a Document
If you account is on the team plan or above, you will be able to attach documents to your records.
Your admin will specify which tables can have documents attached, so you may not be able to attach documents to some of the records.
To upload documents against a record, drag a document onto the page or click the plus icon.

Once uploaded your document will be available to everyone in your project who has access to view this record.
# Deleting a Document
You can remove documents by hovering over the file and clicking the delete icon.
# Supported File Types
The following file types are supported for record documents:
- .xlsx
- .doc
- .docx
- .ppt
- .pptx
- .png
- .jpg
- .jpeg
- .gif
- .bmp
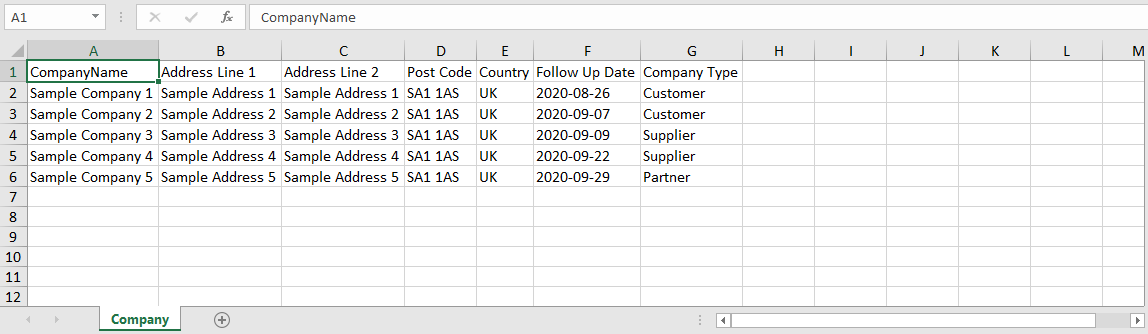
# Exporting & Importing Records
If your account is on the team plan or above, you will be able to export and import your table data.
To export your data, click the Export button.

You can then make changes to your data, for example, updating all Company records to be Partners.
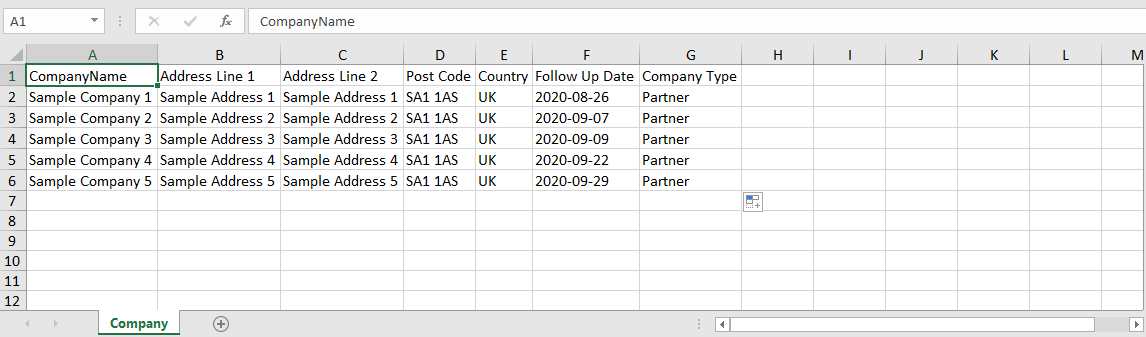
You can then click the import button from the table search screen.

Now select the export file you have just updated and this will update the Customer Company Types.
TIP
You will only be able to import records if you have permission to create records for the table.
Icon and image fields are not supported on export and import of the data.
# Board & Calendar Screens
As well as the standard table screens, you may also have access to calendar and board screens that your project admin has set up. You can search & filter the data on these screens in the same way as standard table pages.
You can click on calendar entries or board cards to view the records.
# Adding a Board Card
You can create new records from a Board screen by clicking the plus icon at the top of a column.

This will bring up a modal for creating a new record.
# Customising Board Columns
There may be lots of columns on a Board board and you may wish to hide some. To hide a column, click the eye icon next to the column name.

To show the column again, click the cog icon in the bottom right of the Board screen.

Select the column you would like to show again.