
# Fields
Once you have created your tables for your project, you can add fields to these tables. Fields define the information you are capturing about records in your tables.
# Creating Fields
If you are a Project Admin for a project then you will be able to create new fields. This is done in Edit Mode for a project, which is accessed by clicking the Edit Project button in the top right corner.

# Creating Fields using Screen Builder
Open up edit mode for the project and select the Screens tab.

Select the table you wish to add fields to in the left hand navigation bar.
Drag a field from the left hand field type menu onto the screen.
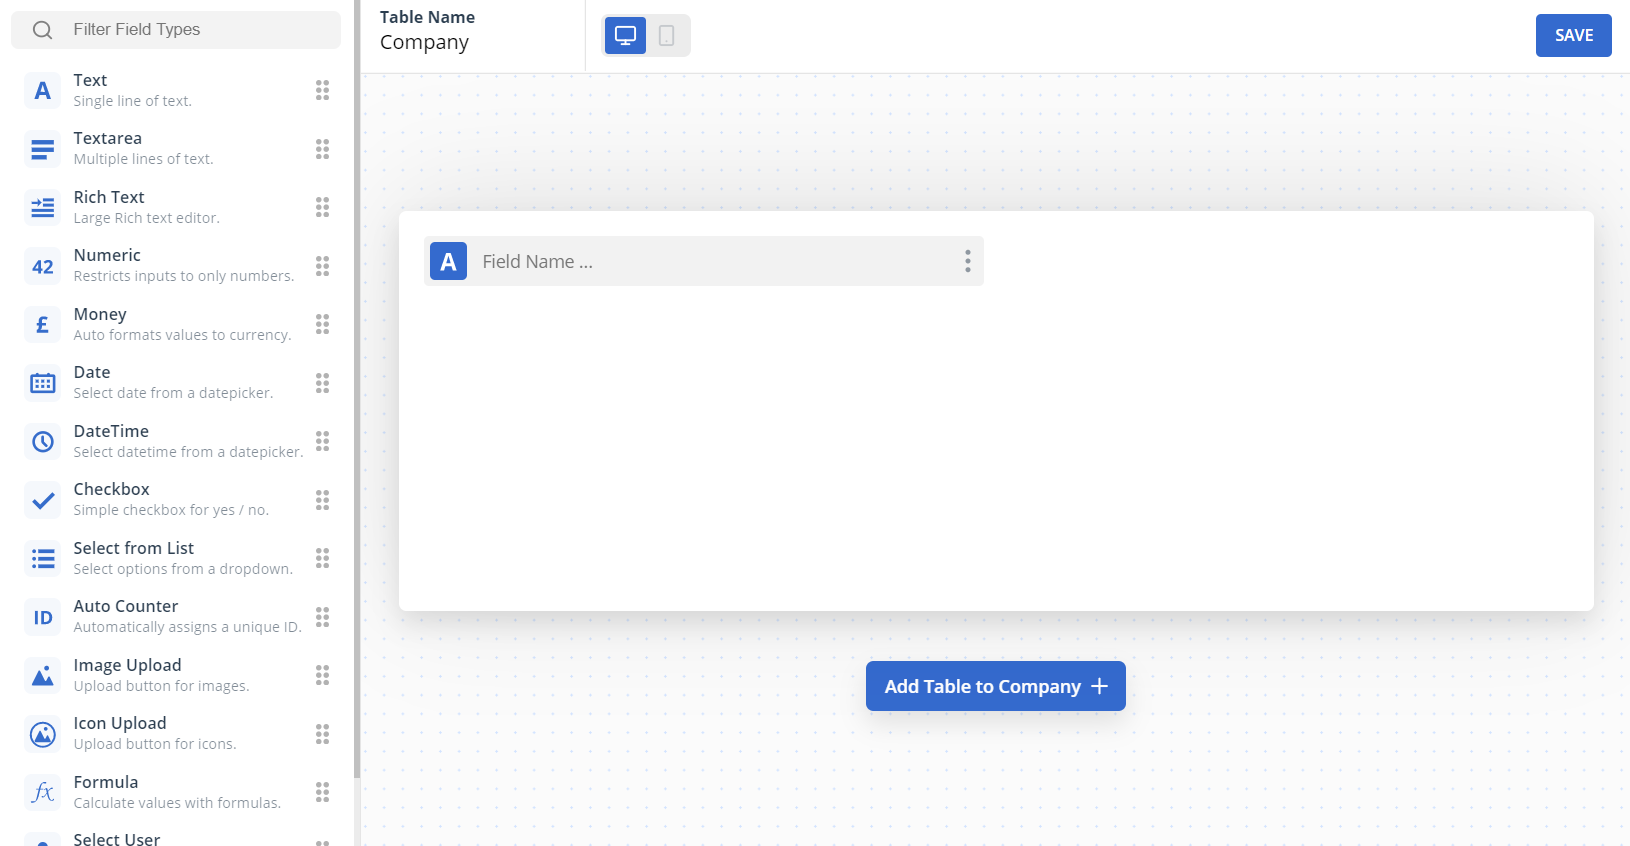
Enter a field name.

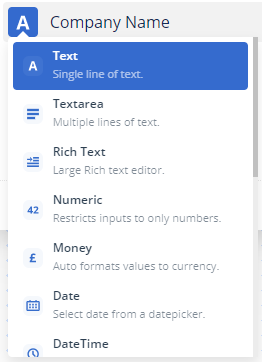
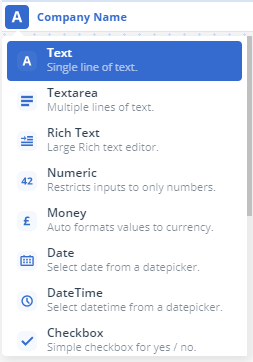
The type of field can be quickly changed by clicking the icon to the left of the field name.
For more information about the different field types, see the Field Types section.
Save the changes to your table by clicking the Save button in the top right hand corner.

You can continue to add fields for your tables. When you add fields to existing tables, by default they will be hidden on the screens. Make sure to check the new fields are visible the screens that you need.
TIP
You can take a look at your app by clicking the Close Editor button. You can then return to the screen builder by clicking the Edit Project button and clicking the Screens tab.
# Creating Fields using Table Builder
Open up edit mode for the project and select the Table tab.

Click the plus button on the table header to add a new field.

Enter a field name.

The type of field can be selected using the icon to the left of the field name.
For more information about the different field types, see the Field Types section.
Save the changes to your table by clicking the save button in the top right hand corner.

You can continue to add fields for your tables.
TIP
You can take a look at your app by clicking the Close Editor button. You can then return to the Table Builder by clicking the Edit Project button and clicking the Data tab.
# Field Types
When creating a new field, Gridfox allows you to specify a field type from one of the options below.
This table also shows which fields can be set as a reference field, as a required field, or that they must contain unique values. For more information about this and additional details on each field type see field settings.
| Type | Description | Field Settings | Reference | Required | Unique |
|---|---|---|---|---|---|
| Text | Store text based information such as name and telephone numbers | None | Yes | Yes | Yes |
| Text Area | Store larger text based information such as address | None | Yes | Yes | Yes |
| Rich Text | Store rich text information such as ongoing notes and comments | None | Yes | Yes | Yes |
| Number | Store numbers than you can perform functions on such as +, -, SUM | None | Yes | Yes | Yes |
| Money | Store financial values in GBP, EUR or USD | None | Yes | Yes | Yes |
| Date | Store dates | Optionally select to default to today's date | Yes | Yes | Yes |
| Date Time | Stores dates & times | None | Yes | Yes | Yes |
| Checkbox | Stores a true or false value | None | No | Yes | No |
| Select from List | Choose between a custom list of values in a dropdown | Specify your custom list & optionally select a default list value for new records | No | Yes | No |
| Auto Counter | An auto-incrementing counter (1, 2, 3...) used to give unique IDs | None | Yes | No | Yes |
| Image Upload | Stores images (jpeg, png, svg, webp, gif, bmp) | None | No | Yes | No |
| Icon Upload | Stores images to be displayed on records, such as company logos (jpeg, png, svg, webp, gif, bmp) | None | No | Yes | No |
| Formula | Create dynamic fields based on the values of others (SUM, COUNT) | Specify the field formula | No | No | No |
| Select User | Reference to an existing Gridfox User | Optionally select to default to current user | No | Yes | No |
In the screen builder field list, you may also see Link to Parent as field type. For more information, see linking tables.
# Field Settings
Each field will have some or all of following three options:
- Is Reference
- Is Required
- Is Unique
Each of these options is described in more detail below. All of the settings for these options can be accessed in the field configuration modal for each field. This is accessed by clicking the Menu icon against each field in the screen builder or table builder.

# Is Reference
Reference fields are used so that users can identify links between records. For example, when creating a new contact record, the user could choose the company from a dropdown list. The field displayed in this list will be the Reference field.
All tables must have a reference field. If you do not specify a reference field when creating a table, you will be prompted to select one on save of your model changes. You also will have the option to add an auto counter field for this purpose.
# ID Masks
To help your users identify the correct record to select in a dropdown list, you can add an ID Mask to a reference field.
To set an ID Mask for a reference field, open field configuration in either the Table Builder or Screen Builder by clicking the menu icon against a field.
Enter an ID Mask. To reference a field from the current table, enclose the field name in square braces.
Click Validate ID Mask to check your syntax is valid.
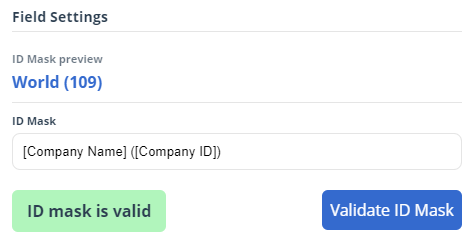
You can include text in the ID Mask. In the example above, brackets were added around the auto counter number.
You can only include fields from the table itself in its ID Mask. You cannot include fields from related parent tables.
# Is Unique
You can set that a field must contain unique values. For example, a registration number field on a vehicles table would be set as Is Unique.
If you set an existing field to be unique, Gridfox will check that there are no existing duplicate values in the system. You may have to update your data before you can set a field as unique.
# Is Required
You can set a field to be required for a table. This will validate that when a record is created, by either direct record creation or through uploading records via a spreadsheet, that the field is populated.
If you set an existing field to be required, Gridfox will not check that existing records contain a value. When your users edit an existing record after a field has been set as Is Required then they will not be able to save changes to the record without a value.
# List
You can restrict the information users can enter into a field by providing a list of field values.
Open the field configuration for the list field.
Add the list items.
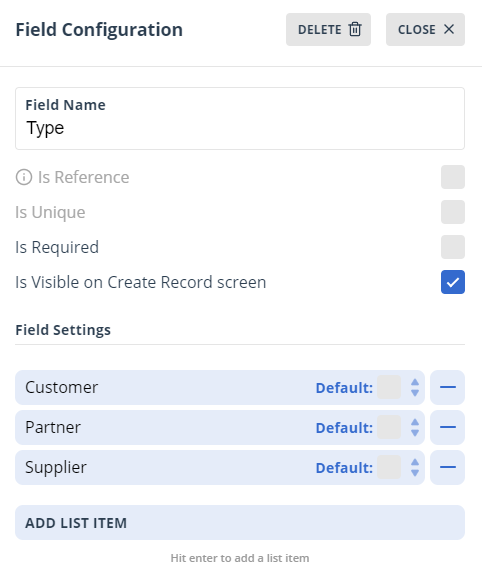
# Setting Default List Values
To specify a default list value for new records, select the Default radio button in the Field Configuration settings for the list field.

All new records that are created will have this value selected by default. The user can change the selected value when they are creating the record.
# Formula
Formula fields are a way of performing calculations against your table fields.
# SUM & COUNT
Currently Gridfox supports SUM & COUNT functions. For example, to add a count of the number of Contacts for a Company, add a formula field to your Company table. Open the field configuration.
Then enter COUNT(Contact). Click Validate Field.
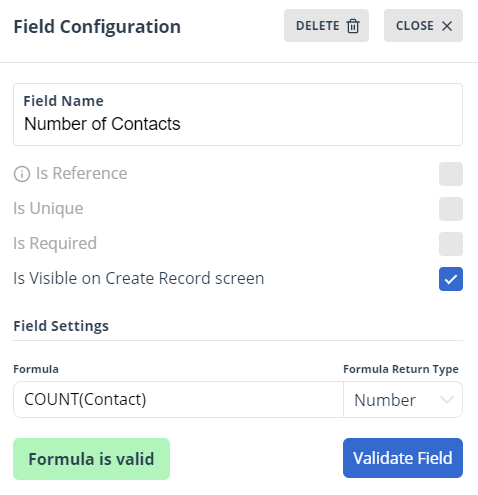
You can then close the modal.
TIP
Ensure that you are using SUM and COUNT in block capitals. The formula is case sensitive and will not accept ‘Sum’, ‘sum’, ‘Count’ or ‘count’ as valid operations.
If the formula is not valid then you will not be able to save changes to your field.
As indicated in the above example, when referencing tables in your formula you must use the singular name for the table.
You can include fields on linked tables by using the tableName.fieldName in your formula e.g. ‘Company.Employee Total’.
# Arithmetic
If you would like to perform arithmetic operations in your formula field you can use +, -, * and / for addition, subtraction, multiplication and division.
Ensure there is a space between the field name and the operation e.g. ‘Revenue * 0.8’ is accepted but ‘Revenue*0.8’ is not.
TIP
Currently to perform arithmetic on fields, the field you are performing the operation on will need to contain values for all of your records.
# User
# Setting Default User Values
You can configure a user field to default to the currently logged in user when a record is created.
Open up field configuration for a user field.
Tick the checkbox for Default to currently signed in user.
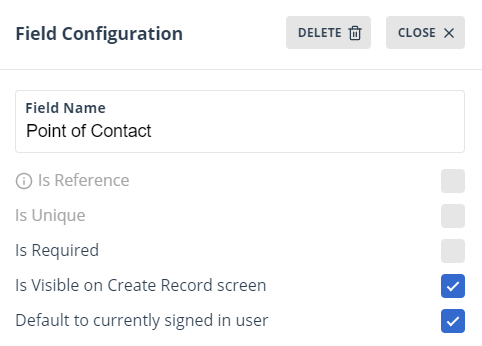
All new records that are created will have this field set to the user that created the record. The user can change the value in this field to other users in the project.
# Date
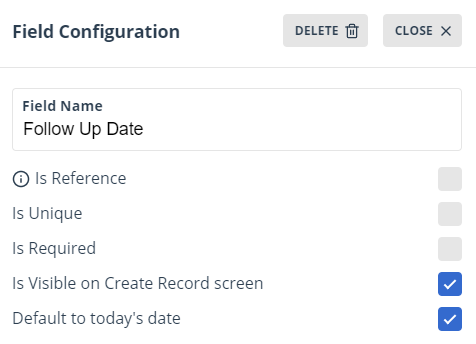
# Setting Default Date Values
You can configure date fields to have a default value of today when a record is created.
Open up field configuration for a date field.
Tick the checkbox for Default to today’s date.
# Money
# Setting Money Field Currency
You can configure the currency that is used for a money field.
Open up field configuration for a money field.
In Field Settings select the approporiate currency from the list.
TIP
If you change the current of an existing field, the values in the field will not be converted. Ensure you update the data on the existing records if you make this change.
# Editing Fields
You can edit the name of existing fields on tables. To do this, navigate to the table in either the screen builder or table builder and click the field name to edit it.
# Changing Field Type
You cannot change the field type of an existing field on a table. If you need to do this, delete your existing field and create a new one.
TIP
If there is data in a field that you are deleting, use the export and import data process to move the data from the existing field to a new one before you delete the existing field. For more information, see exporting and importing data
# Deleting Fields
To delete a field from a table, open up the screen builder or table builder and select the field configuration for the field you would like to delete.
Click the Delete button in the top right hand corner of the modal.

When you save the changes to the model this field and all of its contents will be removed from the records.